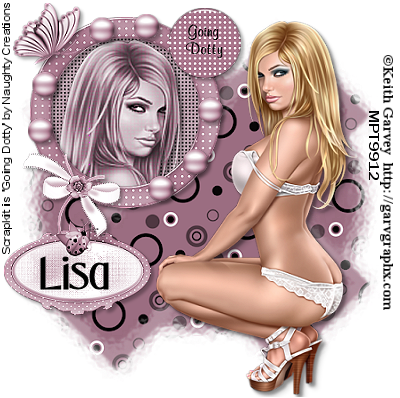
I am using the art of Keith Garvey which you can find HERE
Please do NOT use the same image unless you have the proper licence to do so, you can get a licence HERE
I am using the PTU kit Going Dotty by Naughty's Creations which you can find HERE
Mask of Choice
Font of Choice
Open a new image 450x450
Copy n Paste paper 18 onto your canvas
Apply a mask of choice and Merge Group
Open Frame 13 and Paste onto your canvas
Image - Resize by 40 and Sharpen
Place on the top left hand side of your canvas
Grab your magic wand and click inside the frame
Selections - Modify - Expand by 5
Open paper 15 and paste on your canvas
Selections - Invert - Delete - Select none
Move this underneath your frame layer
Effects - Texture Effects - Weave
Gap Size 2, Width 2, Opacity 50, Weave Colour White n Gap Colour Black
Click inside the frame again with your magic wand
Selections - Modify and Expand by 5
Grab your tube and resize if necessary
Place where you want it to go in the frame
Selections - Invert - Delete
Move this under the frame layer
Select Luminance
Open element 58 and Paste on your canvas
Image - Resize by 20 and Sharpen More
Place on the top right hand side of the frame
Open element 2 and Paste on your canvas
Image - Resize by 20 and then by 90 - Sharpen
Place on the top left hand side of the frame
Open element 37 and Paste on your canvas
Image - Resize by 50 - Sharpen
Place on the bottom of the frame
Open element 6 and paste on your canvas
Layers - Duplicate 6 times and place around the frame
Merge these layers together
Open your main tube and place on the right hand side of the tag
Give everything a drop shadow
Merge layers together
Add correct copyright n licence numbers
Crop if necessary
Done!!

No comments:
Post a Comment