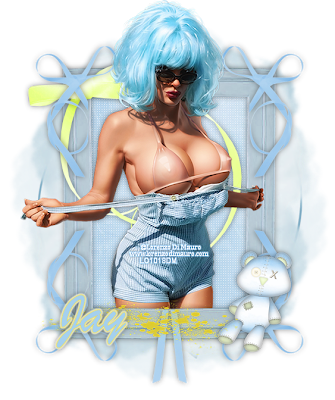
I am using the PTU art of Lorenzo Di Mauro which you can find it HERE
I am using Jay's aka Bello Scarto's part of the Exclusive Store Collab Lughnassad, you can find this HERE
TY so much Jay for allowing me to use this set of Scrapkits!
Mask of Choice
Font of Choice
Filters Used:
Xero Radiance - 128, 50, 128, 51
Open a new image 700x700
Open Element 7 and paste as a new layer
Position in the centre
Click inside the frame with your magic wand
Selections - Modify - Expand by 4
Open Paper 6 as a new layer
Position in the frame
When happy - Selections - Invert - - Keep Selected
Open your tube as a new layer
Position in the frame
When happy - Selections - Invert - Delete on both layers
Move both layers under the frame
Apply Xero Radiance to the tube at the settings above
Effects - Texture Effects - Weave on the paper layer
Open Element 18 and paste as a new layer
Image - Resize by 95
Send to the bottom
Open Element 9 and paste as a new layer
Resize by 90
Move to the top of the frame
Send to above layer 5
Layers - Duplicate 3 times
On the first duplicate - Image - Mirror
On the second
Image - Rotate - Free Rotate - 90 Left
On the 3rd - Rotate to the Right
Merge these layers together
Open Element 13 and paste as a new layer
Resize by 80 - Sharpen
Position on the top left side of the frame
Layers - Duplicate - Image - Mirror
Merge Down
Erase the parts over the tube
Layers - Duplicate - Image - Flip
Open Element 17 and paste as a new layer
Resize by 40 and Sharpen
Position on the bottom right of the frame
Click on the frame layer
Copy and Paste Element 12 as a new layer
Place on the left hand side of the frame
See my tag for placement
Open Element 28 and paste as a new layer
Resize by 90 and Sharpen
Move to the bottom of the frame
Apply drop shadows to your layers
Merge layers visible
Apply your correct copyright and licence numbers
Save as a png
Add your name
Save again
Done!

No comments:
Post a Comment