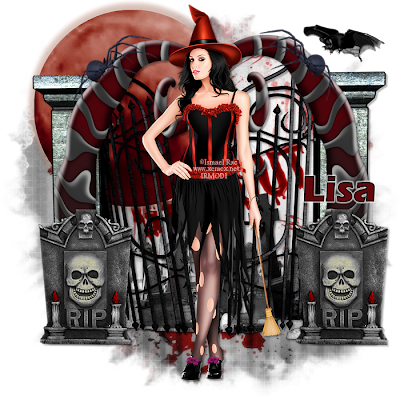
I am using the art of Ismael Rac which you can find HERE
I am using the PTU Gothic Horror Scrapkit which you can find HERE
Mask of Choice
Font of Choice
Filters Used:
Xero - Radiance - 128, 50, 128, 37
Open a new image 700x700
Open Element 30 and paste as a new layer
Position in the centre
Open Element 60 and paste as a new layer on your canvas
Resize by 75 and Sharpen
Position below the gates and move to the left
See my tag for placement
Open Element 29 and paste as a new layer
Resize by 70 and Sharpen
Position below the gates on the right hand side
Position - When happy - Layers - Duplicate - Image - Mirror - Merge Down
See my tag for placement
Open Element 49 and paste as a new layer
Position on the left of the gates and resize by 60 - Sharpen
Layers - Duplicate - Image - Mirror
Position and merge down when happy
Open Element 73 and paste as a new layer
Resize by 40 and Sharpen
Position on top of the previous layer and position
Layers - Duplicate and move to the right side of the gate
When happy - Merge Down
Open Element 68 and paste as a new layer
Resize by 30 and Sharpen
Position on top of the red swirl and use your deform tool to angle it
Layers - Duplicate - Image - Mirror - merge down
Open Element 74 and paste as a new layer
Resize by 25 and Sharpen
Position at the top right of your tag and angle a little
Open your tube as a new layer
Position in the centre and apply Xero Radiance at the settings above
Open Paper 19 and paste as a new layer on your canvas
Send to the bottom and position so you can see the words through the gate
Apply a mask of choice and merge group
Add drop shadows to your layers - merge visible
Apply correct copyright and licence numbers
Merge Down - Save as a png - Add your name - Save again - Done

No comments:
Post a Comment