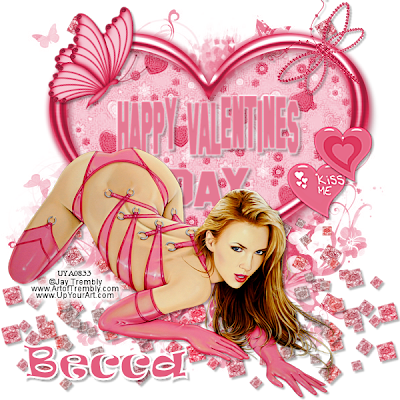
I am using the art of Jay Trembly which you can find HERE
Please DO NOT use this tube without obtaining it through the store properly
I am using the gorgeous PTU kit Red Valentine By Becca HERE
Font of Choice
Mask of Choice
Filters Used - Eye Candy 4 - Gradient Glow
Glow 3 - Colour White (for the happy valentine day wordart)
Also, i colorised the elements so it would fit the tube better, if you want to use the same as me, here they are:
Hue - 245
Saturation - 182
Ok, lets get started
Open a new image 600x600
Open Frame 2 and paste as a new layer on your canvas
Resize by 80 - Sharpen and Colorise using the settings above or any of your choice
Place towards the top of the canvas
Click inside the frame with your magic wand
Selections - Modify - Expand by 10 and paste Paper 13 as a new layer
Selections - Invert - Delete - Delete None
Move under the frame layer
Colorise with the same settings as before
Open Butterfly 3 and Copy n Paste as a new layer on your Canvas
Image - Mirror and Resize by 50 - Sharpen
Use your deform tool to angle it upwards slightly and place on the left hand side of the heart frame
Colorise
Open Happy Val Day 01
Selections - Select All - Float - Defloat
Selections - Modify - Expand by 2
Add a new raster layer and floddfill the letters with Hue - 245, Saturation - 175
Delete the original layer
Copy n Paste onto your Canvas
Place inside the frame and resize to fit inside perfectly
Using your Gradient Glow plug in - use the settings i have put above
Give it a slight Drop-Shadow
Open the tube you are using and place where you like on your canvas
I placed mine to the left but its up to you where you want to put yours!
Give it a drop shadow
Open Heart Button 3 and paste as a new layer
Colorise and resize by 40 - Sharpen
Position on the right hand side of the frame - drop shadow
Open Heart Button 5 - resize by 40 - Sharpen
Colorise and place above the other Heart Button
Merge these 2 together
Open the Scattered Gems and paste as a new layer
Send to the bottom and rotate by 30 degrees right
Place under the tube so it looks as if she is on them
Duplicate 2 or 3 times, depending on how many you want and place above the others so it looks like a little carpet of scattered gems underneath her!
Merge these layers together
Open Paper 5 and paste on your Canvas
Send to the bottom of your Canvas
Add a mask of choice and merge group
Add your copyright info and licence number
Add your name and save as a png!
Hope you enjoyed this tutorial!!

No comments:
Post a Comment